How to Get Vibrant Color in Your Paintings : Dreama Tolle Perry’s Advice on Color
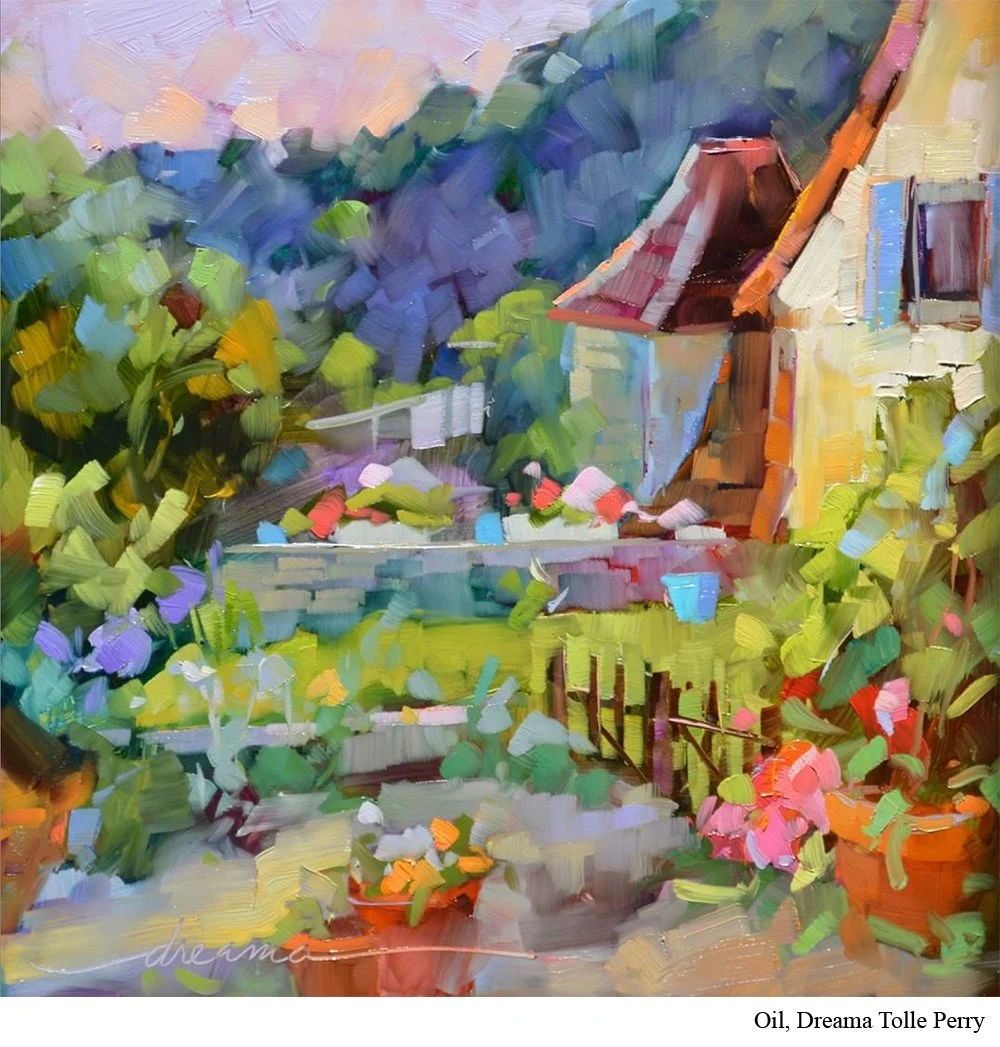
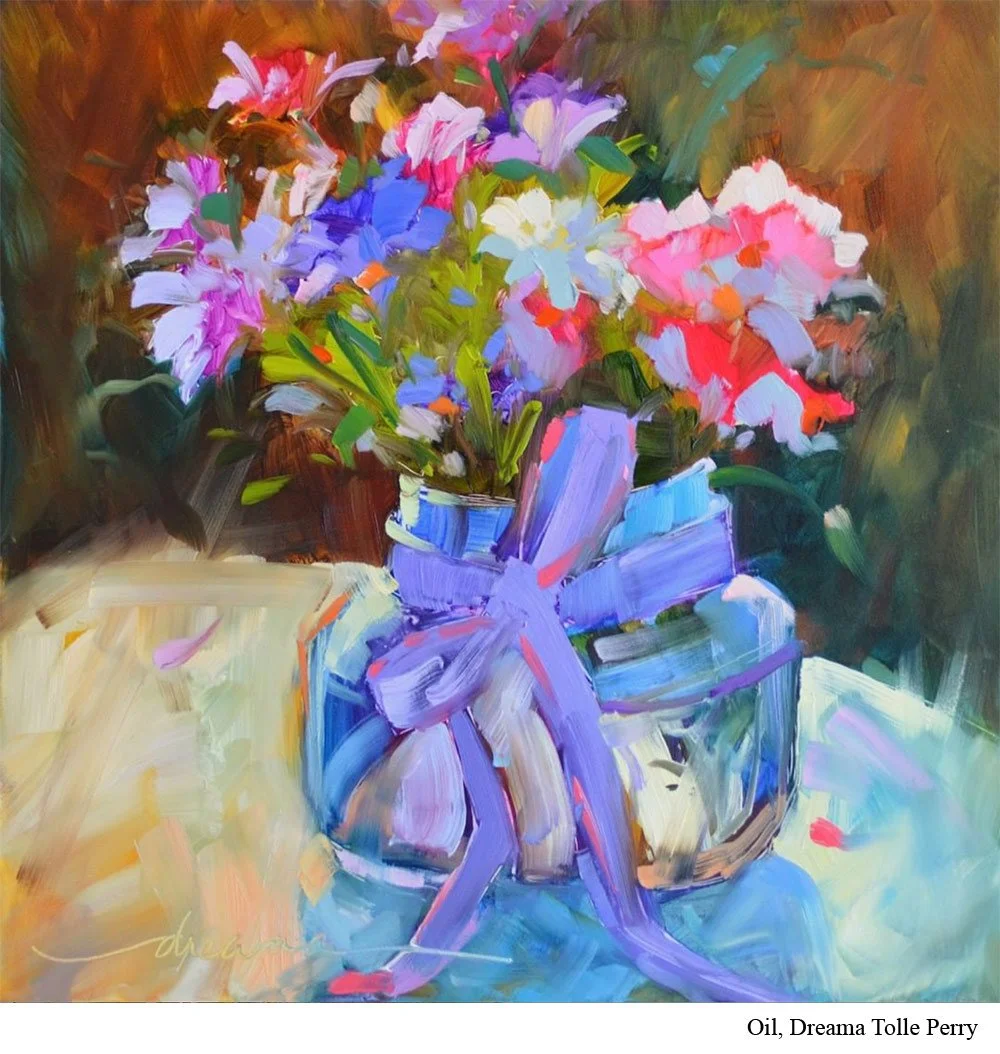
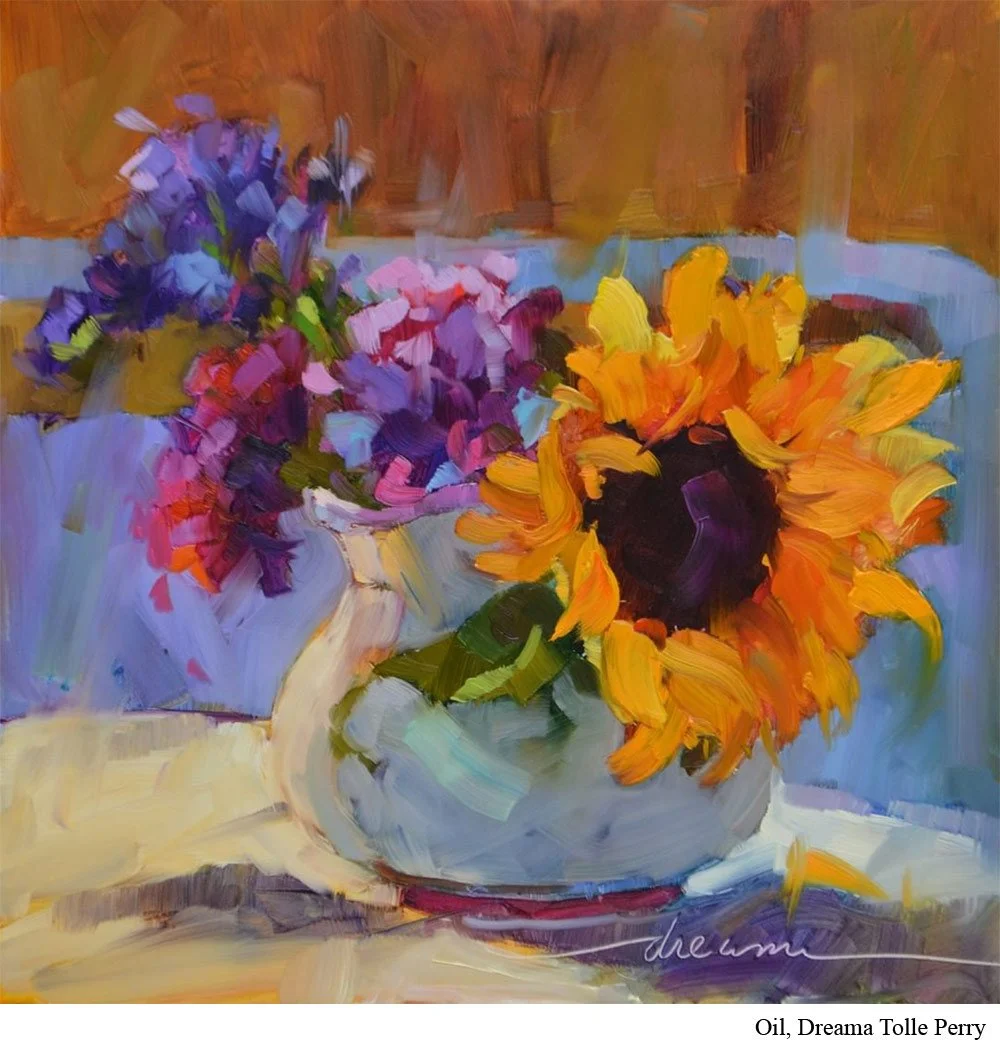
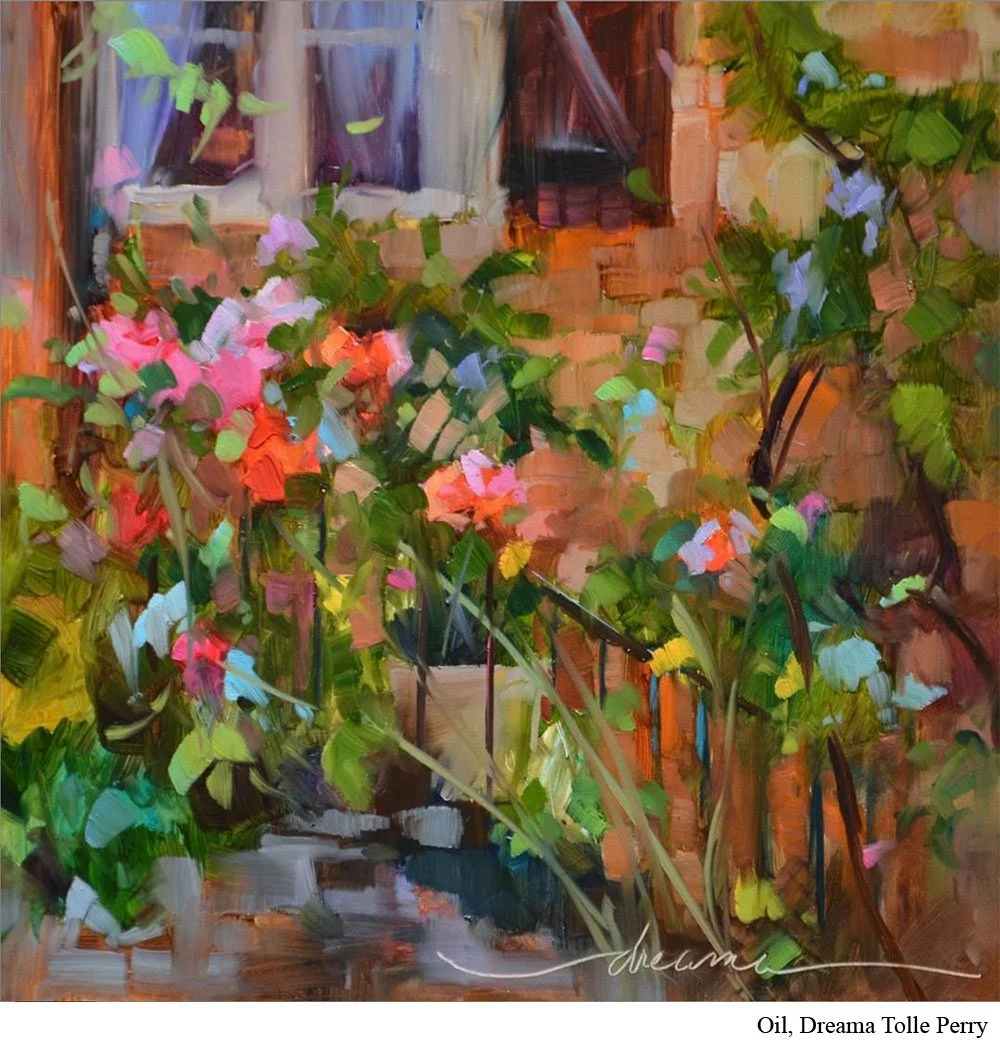
Artist Dreama Tolle Perry (episode 18) is known for her bright landscapes and colorful flowers. Not surprisingly, she has great advice for getting the most vibrant color possible in your work. While Perry is an oil painter, many of her suggestions work for getting vivid colors in watercolor and acrylic.
1. Start with a Good Palette of Colors
You don’t need every color ever made, but make sure you have a good range of colors on your palette. Perry’s palette consists of 14 colors plus white and includes both opaque and transparent colors. She uses professional quality oil paints from high quality manufacturers like Winsor & Newton and Rembrandt.
(If you want to see a list of Perry’s specific colors, you can sign up for her newsletter here and get a pdf download with a bunch of great information.)
2. Keep Your Palette Clean
“Keep everything as clean as possible,” says Perry. The artist works on a glass palette and what she loves is that she can easily clean it with a scraper.
“It's the best thing that ever happened because if my palette starts getting too full with mixed colors, I just scrape and it's literally a 10 second, get it off and start mixing again.”
Keeping a clean palette ensures that you don’t accidentally combine two colors you didn’t intend to, which will most likely grey down your mixture. Colors come out of their tubes at their most saturated so anytime you add a color, it will grey it down just slightly. And maybe that’s what you want, but keeping your palette clean ensures that when you do it, it’s on your own terms.
3. Lay Out Your Colors the Same Every Time
Perry didn’t do this when she first started painting and while it’s simple, it’s powerful: Set up your colors in the same place on your palette every time.
“It's like having middle C on the keyboard,” she says. You learn to trust where this color or that color is and that means you’re less likely to grab from the wrong color. And again, the more colors combined, the less vibrant they become.
“I don't have to stop and think about ‘Which color is that?’ So it's a real simple thing....it's so helpful.”
4. Take the Most Direct Route
“I look at a color when I'm mixing it, and you try to arrive there in the shortest distance possible,” says Perry.
Every time you add a color into a mixture, it dulls it a bit and depending on the paints you’re using, may make mud. (The mud issue is more true with lower quality paints.) So if you can mix a color with three colors instead of five, mix it with three advises Perry. You’ll have a brighter color.
5. Use Neutrals
Neutrals can really help you get vibrant colors in your work. First off, they create contrast. If all the colors in your painting are highly saturated, none of them get to be the stars of the show.
Secondly, by strategically pushing your greys toward a certain color, you can make the colors nearby sparkle. Say, for example, you’re painting pink roses winding up a grey (neutral) wall. By leaning your grey towards a green (which is pink’s complement), you can make those pinks visually bounce more than they would against a grey that’s more blue or red.
6. Creating Strong Accents
Accent colors can be tricky. Why? Because it’s so easy to fall in love and over do it. You’ll lay down an accent color and your heart will swell. It just looks SO GOOD. So good in fact, you think, why not use it over here and then over here and here and here.
The problem is that now it’s no longer an accent color. And it lost its power as such.
Perry uses the analogy of putting on a scarf. You add a scarf to accessorize and it makes the outfit. It would be a very different story if- because you loved how the scarf looked - you added one to your head, both elbows and a couple to your knees, you’ve lost that initial impact.
And the same happens with color. So if when you put down a color that you intend to be an accent color, take a moment before you begin adding it to many other places.
7. Make Decisive Strokes
Decisive strokes can be the difference between beautiful brush work and painting full of mud. Because oils take a long time to dry, you want to be careful about moving the lower layer of paint by adding too many upper layers on top.
Perry advises you to go into your painting with a plan for your brush strokes. She warns people about using their paintbrush to lick their painting. Additionally, if you lay a stroke down and don’t think it works, pause before you make any changes. Think about what part of it doesn’t work and why. Don’t immediately go in with another stroke because maybe part of it works and part of it doesn’t. And with a little consideration, you can change only what’s truly needed.
To learn more about color, check out Dreama Tolle Perry’s full interview by listening to episode 18 of the Learn to Paint Podcast. Want each new episode sent straight to your inbox? Add your name to the newlsetter list below.


